
Something is wrong.
You’ve tried dozens of times to log into your WordPress blog, but nothing is happening.
Maybe the front-end of the website has changed, or you’ve received a suspicious email telling you that someone has tried to change your details. All of these issues are signs that your WordPress system has been hacked.
While WordPress might be the world’s most popular website builder, powering more than 35% of all websites, it’s also one of the environment most likely to be hacked. After all, the more websites a service like WordPress supports, the more likely it is that hackers will be able to find vulnerable companies to target.
So, what can you do if WordPress gets hacked?
Let’s find out.
In the meantime, you can jump to a specific section if you’d prefer using this table of contents:
- Signs WordPress Has Been Hacked
- Stay Calm
- Start Repairing Your Website
- Update Plugins, Themes and Files
- Check Your Admins
- Clean and Resubmit Your Sitemap
- Reinstall your Plugins, Themes and WordPress Core
- Clean Your Database
- Protect Your WordPress Site
Signs WordPress Has Been Hacked
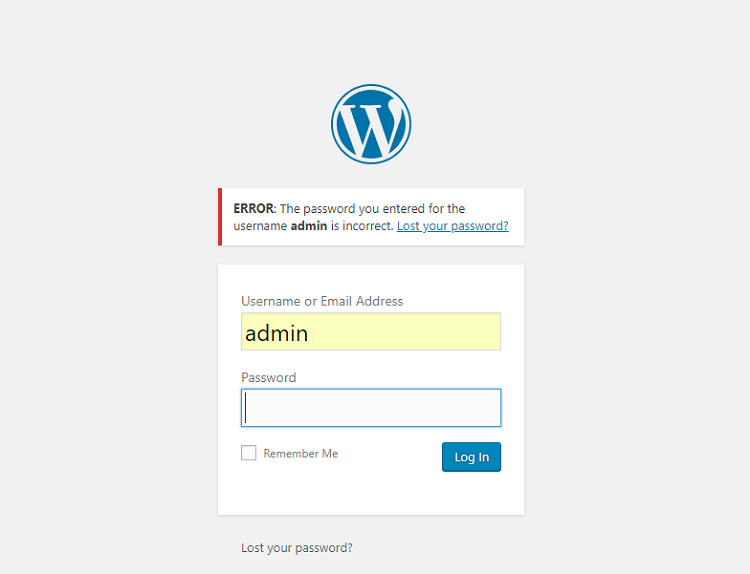
First things first, you’ll need to look for signs that your account has been targeted by criminals before you find your WordPress hacked fix. One of the most common signs that you’re having an issue is that you’re unable to log in when you go to clear your cache or update your blog.
Other red flags include:
- Changes to your website’s appearance or front-end without your approval. For instance, new content might have been added or your home page could have changed.
- Your site is redirecting users to another website.
- You get a warning in your browser when you try to access your site.
- You have received a notification from your security plugin that someone has tried to penetrate your site.
- Your hosting provider has sent you an email warning you about unusual activity on your website.
Do any of those signs look familiar?
Don’t worry, there are things you can do to get yourself back on track again.
What to Do When WordPress Gets Hacked
Step 1: Stay Calm
People all over the world are discovering how to hack WordPress sites on a regular basis. As soon as a new security patch is introduced, it seems like someone has already found a way around it. Sometimes, even the best plugins and security measures won’t prevent you from being the victim of a hack.
Rather than panicking and allowing yourself to get wound up, start by placing your site into maintenance mode. This will give you some time to think about what you’re going to do next. Maintenance mode will also mean that your users don’t see your website in its compromised state – reducing the impact on your brand reputation.
If you can’t log into your WordPress site, then you won’t be able to set maintenance mode. However, if you can get into your account, use a plugin like Coming Soon Page & Maintenance mode to put your customers at ease.

This plugin won’t affect how you see your website, but it will mean that you can adjust how other people see it.
Step 2: Start Repairing Your Website
Once your website is in maintenance mode, it’s time to start removing any dangerous malware. This will stop you from re-launching a website that already has security issues. You can use tools like the Kinsta’s malware removal service to assist with this – although that service does cost a pretty penny.
You may also be able to reduce your chances of security breaks in the future by downloading tools like WordFence security, which provides a malware scanner and firewall.
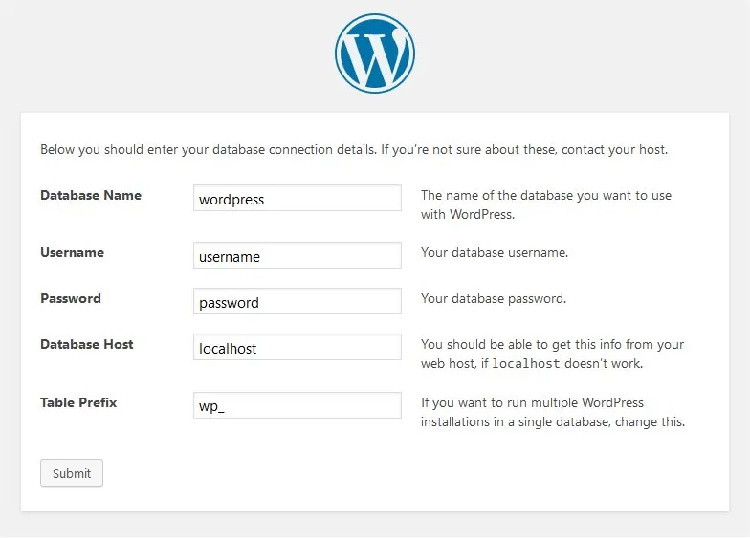
While you’re removing any malware and other dangerous code from your website, remember to change your passwords too. Since you have no idea which password your hacker might have used to hack your WordPress site, you’ll need to change all of them, just in case. Reset your database password, hosting password, SFTP password, and anything else you can think of.
Lastly, make sure that the other admins in your team also change their passwords.
Step 3: Update Plugins, Themes and Files
Any out of date content, files, or plugins on your website can offer criminals a back door into your system. To prevent any additional attacks, go into your WordPress dashboard and update anything that’s not in its latest version. You should do this before you try any other fixes, to ensure that your website is no longer vulnerable.
While you’re updating everything, take some time to check whether there are any files in your WordPress site that shouldn’t be there. You can use the WordFence plugin again here to scan your site for anything that’s out of place.
Unnecessary files not only take up additional space in your WordPress website and potentially cause it to run slower – they can also be signs that you have malicious code and malware in your system. Removing everything that’s not needed from your back-end will help your site to perform at its best.
Step 4: Check Your Admins
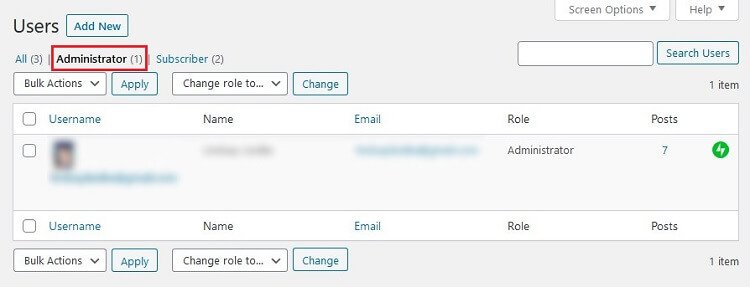
Once you’ve successfully updated your files, plugins, and other components of your website, go to your administrator page and make sure that there aren’t any users on your WordPress site that shouldn’t be there.
Sometimes, when people learn how to hack WordPress sites, the first thing they do is create an account for themselves within the system.
If any administrator accounts have been added to your settings without your approval, it’s crucial to remove them straight away. You can check with your actual admins to make sure that they haven’t changed any account details first to be safe.
To do this, click on the Administrator link above the list of users in your WordPress User page and remove anyone who shouldn’t be there.
Step 5: Clean and Resubmit Your Sitemap
Being hacked doesn’t just harm your company’s privacy and security, it can also have an impact on your SEO too. One common cause of websites being flagged by Google is that their sitemaps have been hacked. Fortunately, it’s easy enough to overcome this issue.
Using a SEO plugin like Yoast SEO, regenerate your sitemap and submit it to Google again, letting them know that you’ve cleaned up the content and gotten rid of anything dangerous.
In addition, add your site to Google Search Console and make sure that you include a request letting the team know that your site needs to be crawled again. Remember, it may take some time for the crawl to be completed, but you’ll have a better chance of preserving your search rankings this way.
If you don’t see any signs that you’ve been crawled within a couple of weeks, you can re-submit your request to Google.
Step 6: Reinstall Your Plugins, Themes and WordPress Core
If you’re still having problems with your website after you’ve taken the steps above, you might need to do some re-installing.
Start by deactivating and deleting your WordPress themes and plugins to clean up your site and basically start rebuilding from scratch. It might sound like an exhausting process but reinstalling your themes and plugins can help to ensure that you’re not missing any malicious code that has been left on your website.
This is also an excellent opportunity for you to double check how secure your plugins and themes actually are. If you haven’t done this already, go and check out the reviews and testimonials left by other customers on the plugin website. You can also look at the support page too for signs that something is wrong with the tech’s security. If you notice other users experiencing similar problems to you, it’s best to avoid re-installing the tool until the vulnerability has been dealt with.
If simply reinstalling themes and plugins doesn’t work, then you might need to reinstall WordPress.
The good news is that this is often a pretty simple process, particularly if you’re using a host that allows you to install WordPress from your admin account. BlueHost is excellent for this purpose, as it allows you to simply click a button to install WordPress onto your domain.
Step 7: Clean Your Database
Finally, it’s important to make sure that you clean your database – just in case that has been hacked too. Cleaning your database is also a good way to maintain the quality of your website over time. Clean databases have fewer issues with stale data and often take up less space, making your website a lot faster overall.
To determine whether your database might have been hacked, you can use a security plugin or service to conduct a quick scan that will show whether you’ve been compromised. There’s also options like the WP-Optimize plugin that allows you to clean your database and make sure that it’s ready for top performance.
Protect Your WordPress Site
As criminals continue to find new and clever ways of breaching digital environments, it’s more important than ever to be vigilant online.
Ultimately, you might not be able to prevent someone from trying to hack your WordPress site, but you can make sure that you’re prepared if your security is breached. The tips above will help you to get back on your feet as quickly as possible if you ever experience a security issue with your WordPress environment.
To better protect yourself against malicious hack attacks, make sure you always perform routine backups of your website using any of these reliable WordPress backups plugins.
How do you know when WordPress gets hacked? We’d love to hear any tips and tricks that will help our readers better prepare for hacks in the comments below!