Using WordPress can be difficult if you are a non-English speaker. In fact, if you look around in the WordPress Repository or in huge marketplaces such as Envato, you are bound to find that most available themes and plugins are written in English.
Unfortunately, not many theme or plugin developers translate their products into any other languages, making it difficult for those that speak other native languages to use these products. And, as a result, people from all over the world are likely missing out on some really great free and premium products simply because they cannot read the documentation or actual dashboard area of their theme and plugin.
The good news is, there are two very distinct ways you can go about translating a theme or plugin you are interested in using should the need arise:
- Using a WordPress localization plugin
- On your PC or Mac using a software called Poedit
Now, while Poedit does offer website owners a lot of help when it comes to translating apps and websites, today we are going to focus on translating your theme using the WordPress plugin Loco Translate. This plugin, intuitive as it is, will help to translate both your WordPress theme and plugins, right in your WordPress dashboard.
So, let’s take a look at how it’s done.
What is Loco Translate?
Let’s first take a quick glance at what Loco Translate is and what it offers website owners looking for a unique translation solution.
Loco Translate is a free WordPress plugin offering in-browser editing of WordPress translation files. This is especially useful for translating your WordPress theme or plugins into a language other than the one it originally comes in (which is typically English). In addition, for developers that need a little extra functionality, it comes with localization tools for extracting strings and generating templates.
Here are some other notable features this translation plugin provides:
- Built-in translation editor
- Direct creation and updating of language files
- Native MO compilation
- Support for PO features
- Protected language directory
- Configurable PO backups
- Built-in WordPress locale codes
- PO file editor with keyboard shortcut support
Altogether, Loco Translate offers website owners a simple way of translating theme and plugin files directly from the WordPress dashboard.
Translating the Traveler Theme Using Loco Translate
For today’s explanation, we are going to take a look at how to translate The Traveler theme using Loco Translate.
Step 1: Installation and Activation of Loco Translate
To install the Loco Translate plugin, simply navigate to Plugins > Add New and search for the plugin Loco Translate.
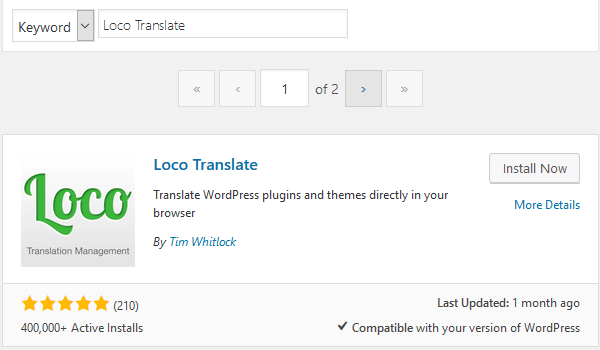
From there, select Install Now, and then click on Activate to get the plugin ready for use on your website. When this is complete, you will see a new WordPress dashboard menu item labeled Loco Translate.
Step 2: Set Your Default Language
Although this has very little to do with actually using Loco Translate, it is important to understand. Each WordPress theme you install on your website will have certain languages built in. Some themes boast having tons of available languages, while others only have a handful. In order to successfully translate your theme into the language you want using Loco Translate, you must make sure your theme will accommodate it.
Start by navigating to Settings >General in your WordPress dashboard. Then, scroll down to the bottom where the Site Language dropdown menu is. The language you see at the top of the dropdown menu is the language your site is currently set at. As you can see here, The Traveler’s default language is English:

Once you click on the dropdown menu, you will see the languages that are already installed on your website. In addition, you will see which ones are available for installation according to your WordPress theme.
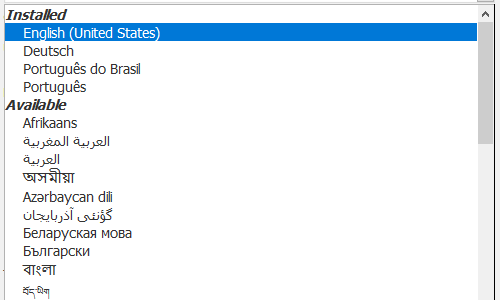
If the language you wish to translate your theme into is not in the Installed section, select your preferred language from the dropdown menu and click on Save Changes. This will install your language and set it as your site’s default. I have chosen Italian from the dropdown menu and saved my changes.
Step 3: Translate Theme Strings
Once you are ready, navigate to Loco Translate > Themes to see all of the themes you have currently installed on your website. As you can see, I have many themes installed on my website.
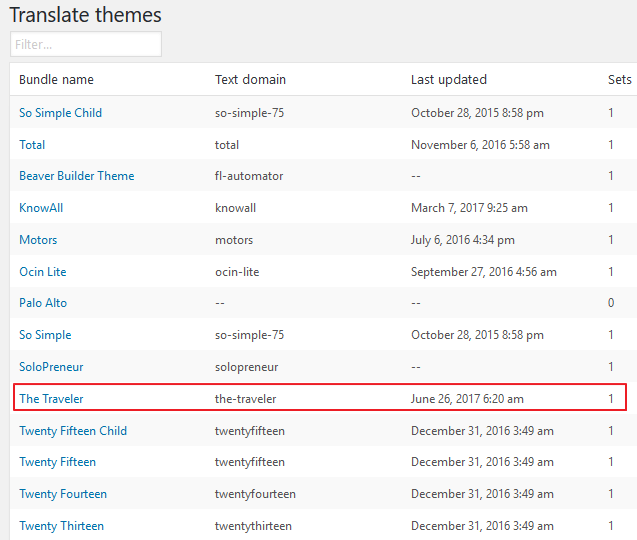
To start the translation of your theme, click on your active theme and see a screen that looks something like this:
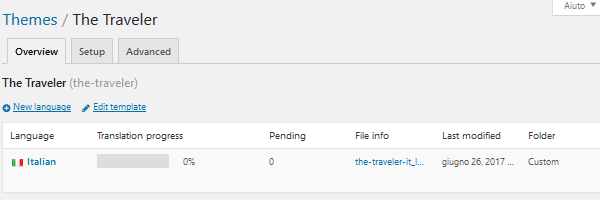
Notice that The Traveler is ready to be translated into Italian, as was defined earlier site wide. Simply click on Italian and notice this screen:
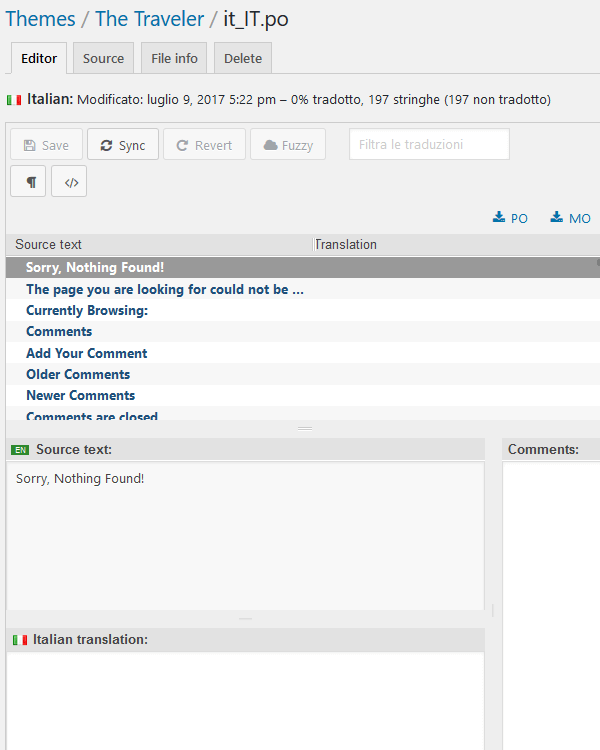
This Editor section of Loco Translate gives you a whole host of information:
- The language you are translating into
- How many strings are available for translation
- The percentage of translated strings
- A list of strings to choose from for translating
- The sections for actually translating strings
- A comment section
To start translating, click on the word or phrase you would like to translate. The word or phrase you choose will then be entered in English into the section labeled EN Source text.
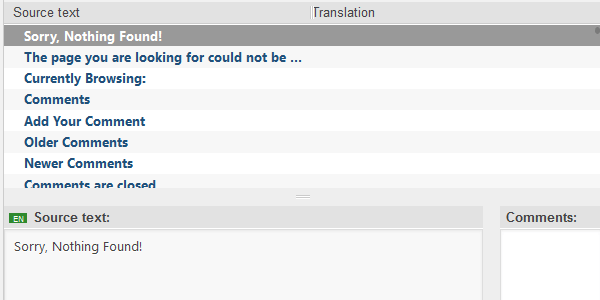
It is now up to you to enter the correct translation for the word or phrase you have chosen into the Italian translation section. If you are not sure what the exact translation is, it is always safe to use a reliable tool like Google Translate to help. Though not always 100% accurate, Google Translate does offer a reliable source of translations.
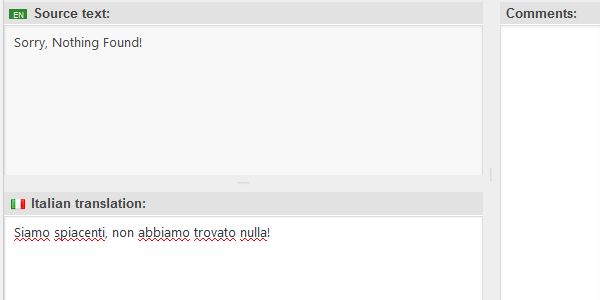
After entering the translated word or phrase in the appropriate section, you will notice in the section labeled Source text that the word or phrase has been highlighted blue with the translation appearing next to the original word or phrase.
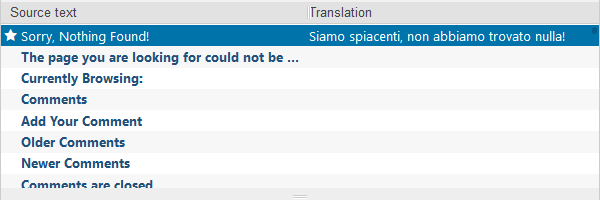
A star appearing next to the original word or phrase is an indication that your changes have not yet been saved. Make sure to click on the Save icon to complete the translation. After clicking Save, your translations will look like this in the Source text queue:
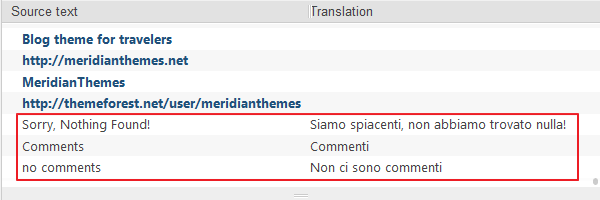
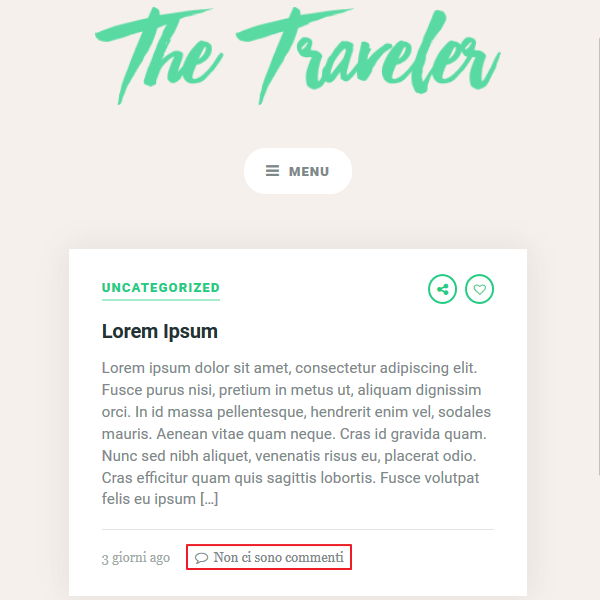
Moreover, on the front-end of your website, any strings you have translated will appear for site visitors to see. For example, I translated the phrase “no comments” using Loco Translate. On the front-end of my website, notice where this phrase has been successfully translated into Italian:
Add a New Language
If there are no translations found for your theme, which is sometimes the case, rather than click on the language you wish to translate your theme into, the next step is to click on New Language. Here you will select from the dropdown menu which language you would like to translate your theme into.
In addition, the plugin developers of Loco Translate recommend that you select the Custom choice so that your new translations remain safe from automatic updates.
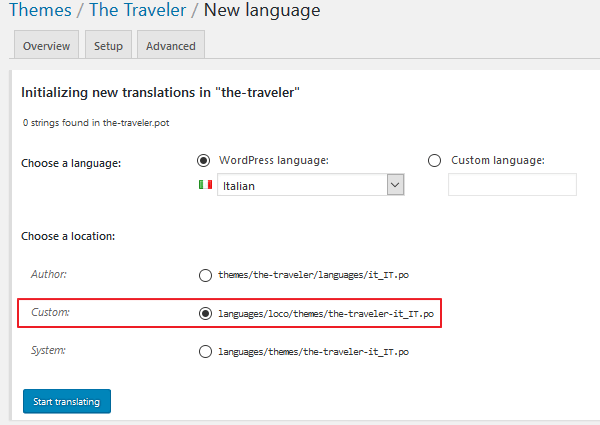
Remember from earlier (under Settings >General) I added Italian into my list of Installed languages. This is why I can now choose Italian from the dropdown list while adding a new language. In short, The Traveler supports my installation of Italian onto my website, carries this language over into the Loco Translate plugin, and becomes available as a translatable language for both my theme and later my plugins if I wish.
After doing this, you will be taken to the translation editor and can begin translating available strings as outlined above.
Final Thoughts
In the end, it is important that you are able to view your WordPress themes and plugins in your native language. More so, it is crucial you translate your theme or plugins into your largest audience base’s native language so that not only can they view your translated content, but also strings that appear throughout your website that are associated with your theme or plugin. After all, there is no sense in translating only part of your website.
If you are looking to give your readers the full user experience, as well as make things easier on yourself, try using Loco Translate for your theme translation needs. It is relatively easy to use so long as your theme accommodates the language you wish to use, and works like a charm after all is set up and saved.
Also, check out our roundup of the best WordPress invoicing plugins. There are some options that translate your invoices, too.
Have you ever used Loco Translate to translate your WordPress theme? I would love to hear all about it in the comments below!


This is an enormously helpful guide, thank you so much!
how to change default language like mydomain.com/en/ to mydomain.com/english/
using loco transilate
Applied loco translate to the theme moview but did not get desired results. I only want to change a few words on the home page and inner pages, not translate completely to another language. My language is already set to English ( US) and that is ok.
Very informative article . I have a WordPress site and i was looking to add in some new plugins for a more user friendly experience . I will try Loco Translate . Also i had a question . Does the addition of such plugins help in Search Engine Optimization as well ?
Hi Bidhan!
Yes, anytime you reach a wider audience (for example, translating your site’s content), you’ll help your search rankings. After all, if you have a global audience, translating your site’s content using a plugin like Loco Translate will help you rank in more relevant search results, drive traffic to your site, and boost site engagement, all of which help SEO.
Thanks for stopping by and good luck to you!
Very Helpful Tutorial! You can also automate the strings translation process and save your time using ” Loco Automatic Translate Addon”
https://wordpress.org/plugins/automatic-translator-addon-for-loco-translate/
Tried and followed to the “T”, but nothing changed. Only wanted to translate some words on each CTA buttons, like “Learn More” or “Read More”, etc. Any advise? Thanks in advance.
Hi, can this Loco translate plugin work without me setting anything after installation?
Hi please help me how can I use Loco Translate plugin in front. Meaning as they select a language from the front-end and convert the language. Thanks.
This is a very informative blog post which I always keep on looking for on the web.
Thank you for sharing a piece of valuable knowledge with me- although I am not in need of the plugin however would try in the near if ever required.
Thanx appreciate your work on this post