So, you want to start a blog, but you have no idea where to even begin.
Good news! You’ve come to the right place.
Here, we’ll walk you through the basics whether you’re starting a blog for personal use or your business. Let’s get started.
Develop an Action Plan
Before you jump in too far, you have to develop a plan for your blog, so you know what direction you’re headed in. It doesn’t have to take a ton of work. Simply open up a Word document and outline your ideas for your blog. Include things like:
- Your niche (or the topics your blog will cover)
- Your target audience
- Your blog’s name and domain (which is your web address)
- Your ideal tone and color scheme
- Your budget
- Your possible marketing tactics
- Your anticipated outcomes
By completing this exercise beforehand, everything else will be much easier to handle.
Set Up Your Blog
Now that you know where you’re headed with your blog, your setup stage should be based on these goals. Let’s look at the steps you need to do to get your blog up and running.
1. Choose a Platform
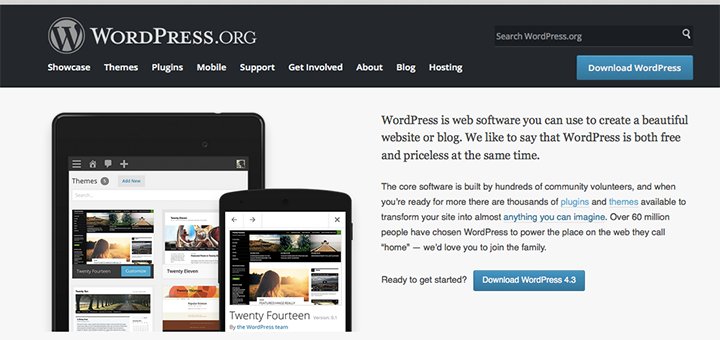
Start by deciding what platform you’ll use. While WordPress is by far the most popular, some of the popular options include:
- WordPress (Free and Self-Hosted)
- Blogger
- Tumblr
- Weebly
- Typepad
- Joomla
- SquareSpace
- Drupal
Each platform is unique, so think carefully about which one fits your needs best.
For instance, if you don’t have a budget to launch your site, then a free Blogger or WordPress blog will get you started. If you’re looking for a lot of customization options and themes, a self-hosted WordPress blog is an excellent choice.
2. Decide if You’ll Self-Host
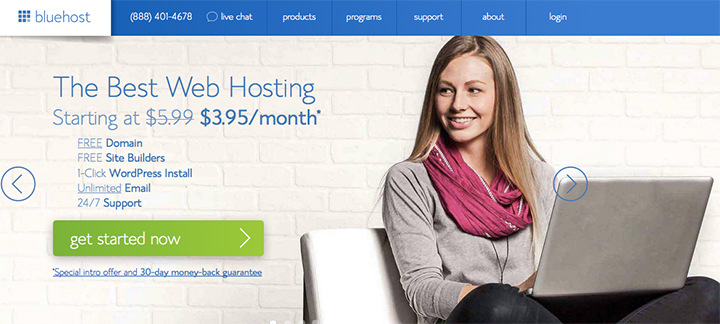
If you’re opting for a self-hosted platform – which will require a bit of investment but give you more freedom and flexibility with your site – then you’ll need to sign up for web hosting.
This means you rent a space on a server from a company like HostGator or BlueHost, who stores your website files for you.
Depending on your host, they can help set you up with one of several blogging platforms, including WordPress, Joomla, and Drupal.
If you choose to go this route, be sure to research and compare the top web hosts to find one fit for your needs and your budget. John Hughes has written a great guide over at DesignBombs.com, including real speed tests.
3. Create Your Account and Choose a Domain Name
Now that you know what host and platform you’ll use, go ahead and sign up.
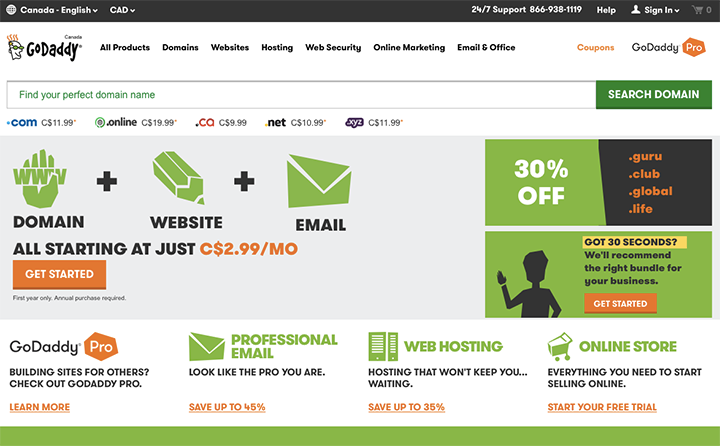
At this point, you’ll need to register a domain name, which is the location of your site online, such as www.yoursite.com. You’ll have to choose a unique domain name. When you go to register it, your registrar will let you know if it’s taken or not and what it’s priced at.
You can register your domain with a third-party service – two popular companies are GoDaddy and Namecheap – or while signing up for your hosting services.
4. Set Up Your Blog
Your setup instructions will vary depending on the host and platform you choose, so follow the instructions provided to you when you sign up.
If you opt for a free platform, getting your blog live is as simple as finishing the sign-up process. If you’re self-hosting, you’ll have to install the platform you want to use once you’re logged in to your hosting account. The set-up is relatively straightforward if you follow the guides provided by your host.
Once your site is live, go ahead and access the backend of your site (which will vary depending on the platform you use), and explore the tools available to you, such as theme and font choices, widget layout options, and publishing features.
5. Install Essential Plugins
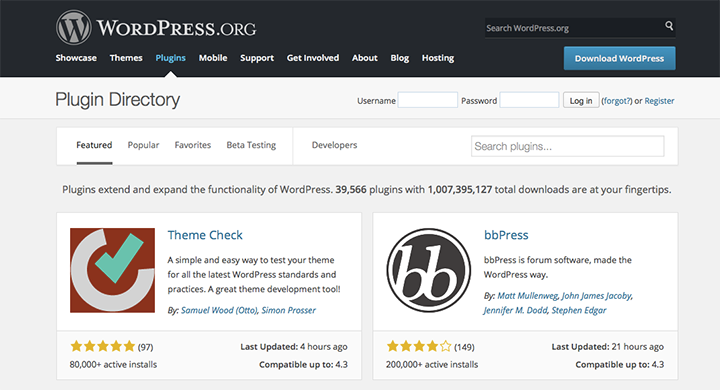
If your blog is a self-hosted WordPress blog, you’ll have the ability to install plugins, which help expand the functions of your site. Considering that over half of the 100 top blogs use WordPress, it’s worth mentioning here for those who choose to go this route. If you’re using a different platform, consider ways your site can achieve similar functions as these essential plugins outlined below:
- Akismet: This plugin helps filter spam comments to protect your site and it does a pretty darn good job at it.
- Yoast SEO: If you want your site to rank higher in search engines (and you do!) this plugin will help you quickly optimize your site for it.
- Jetpack: This plugin comes with tons of features all-in-one, including site statistics, sharing buttons, subscription links, contact forms, and more.
- Gravity Forms: This is a great option for creating effective contact forms.
- W3 Total Cache: This handy plugin helps improve page speed and user experience.
6. Choose a Theme
Before you unveil your blog to the world, you want it to look great and represent the brand you’re building. A great theme can set the tone for your blog as well as make it memorable and eye-catching. In platforms like WordPress, you can start with a free theme, or you can pay for a premium theme. Otherwise, hire a designer to develop a custom theme for you, so your site is one-of-a-kind.
Here are a couple of tips to keep in mind when choosing a web theme:
- Consider your desired features beforehand. Want a theme that allows you to place a custom logo in the header? Then narrow your choices based on those preferences.
- Opt for a mobile-friendly theme. Not only is this great for user-experience, but it can affect your search engine rankings, too.
- Choose a theme based on your site purpose. If it’s to be a business site and blog, you’ll want one with an attractive home page that will highlight your services.
- Look for a theme with user-friendly navigation.
- Take a look at the terms of service before downloading your theme choice.
7. Write Your First Blog Post
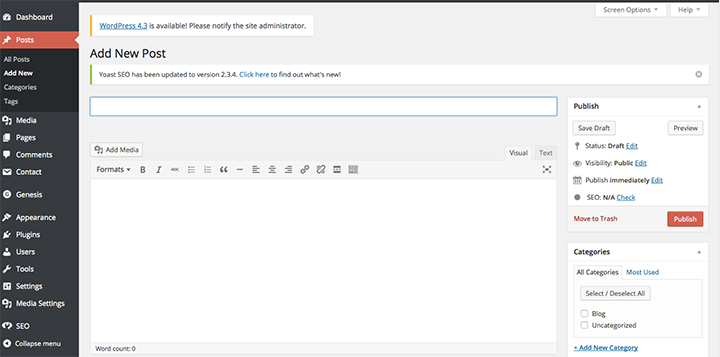
Before you show the world your new blog, you’ll want to have some content up – at least 3-5 blog posts – so visitors can explore your site and have a reason to stick around. When writing your first blog posts, here are some tips to keep in mind:
Create a Killer Headline
Want your first readers to stick around forever? Then entice them with an awesome headline. Your blog posts should inform, educate, or entertain your readers, so make sure your headline speaks to them and entices them to keep reading.
For instance, you might feel the need to write your first blog post about why you started a blog. Your personal story may not interest potential visitors unless it has practical benefit for them. Perhaps you’re starting a finance blog to help people get out of debt. Don’t write a post titled, “Why I Started This Blog.”
Tell your story in a way that speaks to your potential readers. Something like, “How I Eliminated $123,243 in Debt (And Why I Decided to Blog About It)” is a story people who are in debt are killing to read so they can see how to eradicate their own debt.
Use High-Quality Images
It’s undisputed. Blog posts with images get 94 percent more views than those without. The good news is that it’s not tough to find high-quality images you can legally use on your blog. Pixabay, for example, offers free-to-use images, or you can purchase photos from a stock website. Otherwise, take your own photos to help tell your story, and post them on your blog.
Break Up Your Content
If you’ve done any research on blog writing, then you’ve probably heard this before: great bloggers break rules. Some of those rules have to do with the fundamentals you were taught in high school and college. Think you need to start every paragraph with a topic sentence and support it with 3-5 points?
Not true.
In blogging, keeping paragraphs short, if even one or two sentences at a time, helps add to the visual appeal and writing style.
You can also break up your content by using images, subheadings, bullet and numbered lists, quote blocks, and click-to-tweet boxes. All of these techniques make blog posts more appealing and easier to read to make visitors stick around.
End With a Call-to-Action
It’s a good rule-of-thumb to end every blog post with a call-to-action, which just means that you’re telling readers what to do next. An example is to sign up for your newsletter. Another favorite technique is to ask a question and encourage commenting.
Don’t Forget About Extra Functions
Before you hit “publish” on that post, don’t forget to take a look at other options your content management system offers. In WordPress, for instance, you can add tags and categories, which can help search engines and readers better find your content. If you’ve installed the Yoast SEO plugin, you’ll also want to add a meta description to your post.
8. Promote Your Blog
Now that everything is set up, your blog looks great, and you have some content written, it’s time to announce your launch to the world.
First, make sure your blog is prepared for the launch. Do you have an email subscription box ready? Is your about page enticing? Do you have social profiles set up in which people can follow you?
If all looks good, tell your friends about it. Here are just some ways to help promote your blog’s launch:
- Share and Tweet your posts
- Host a giveaway
- Include links to other articles in your posts and mention the author in your Tweets
- Join blogging groups on LinkedIn and Facebook
- Comment on other blogs in your niche
- If you’re using WordPress, install the CommentLuv plugin to encourage commenting, and comment on blogs that use that plugin, which will point people back to your site
- Submit your blog to directories
- Add your URL to your email signature
- Guest blog on other sites
- Continue writing great content!
Promoting your blog can take a bit of hard work before people really start noticing you, but a few months of active marketing can really pay off. One of the biggest things that can help is connecting with other bloggers, especially if popular bloggers share your posts (something called influencer marketing).
Keep in mind that some marketing tactics can hurt you, such as unethically buying links back to your site, so think strategically about your marketing strategy.
Are you ready to launch your first blog? Let us know if you have questions we didn’t answer here.